Why part marking matters before the first cut
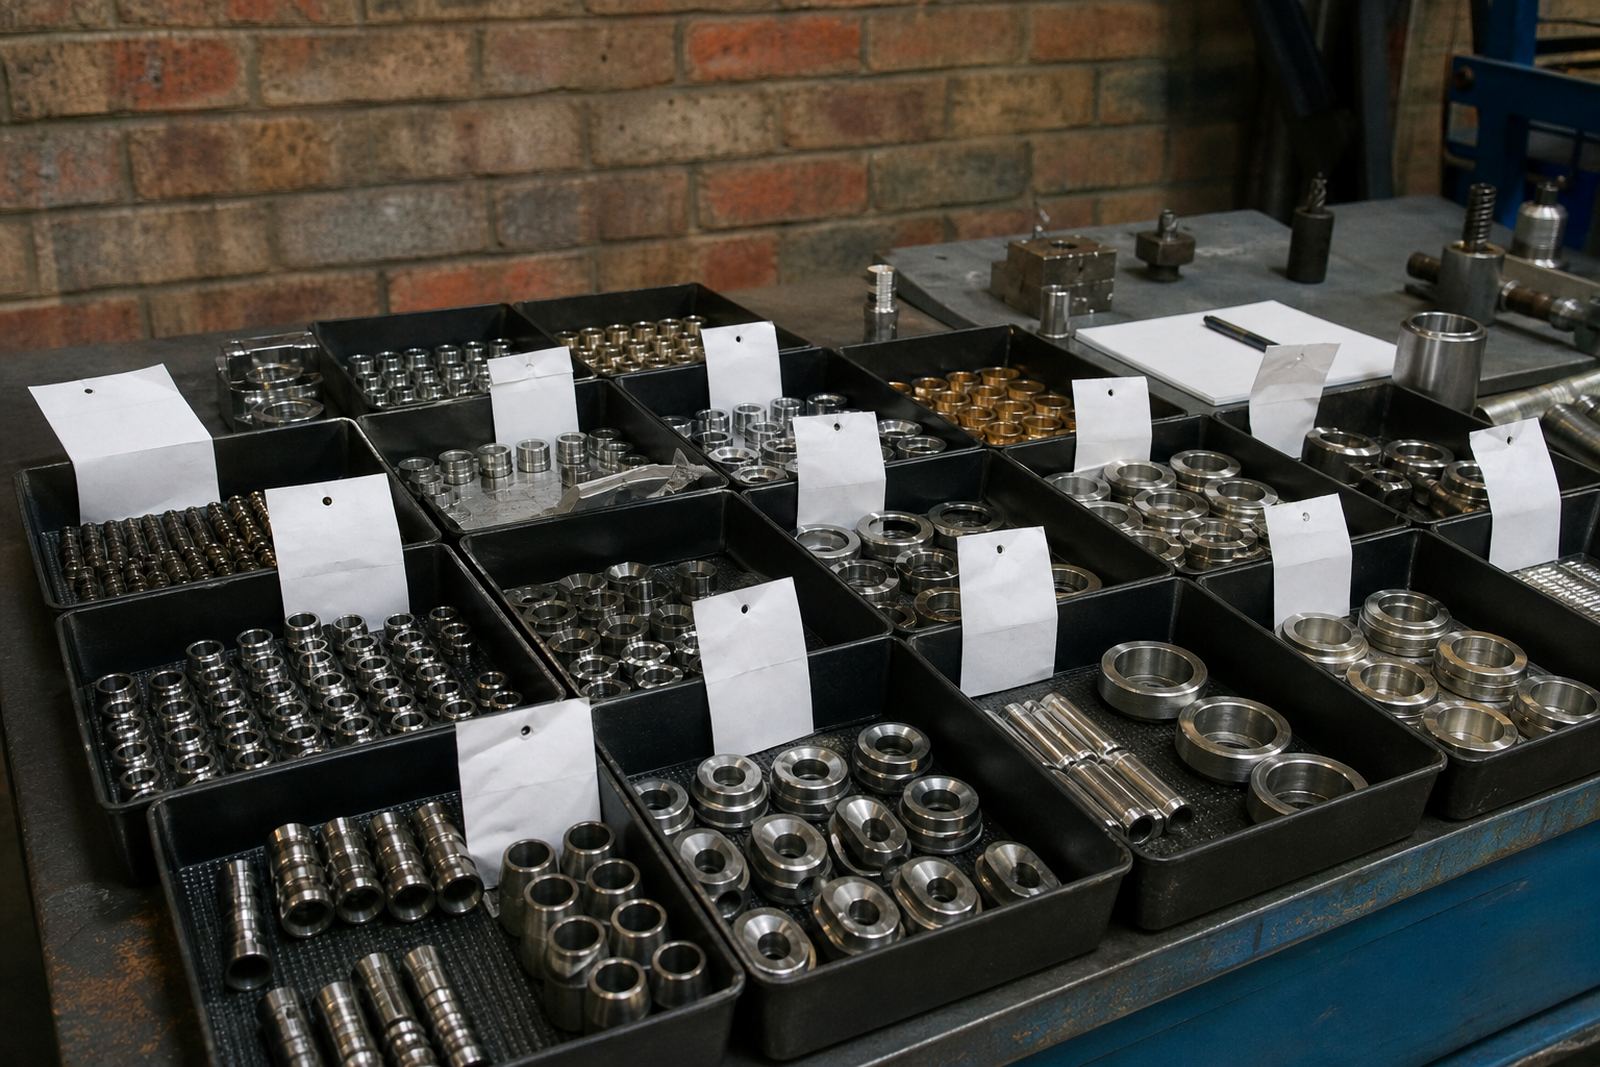
When you are running a small batch, part marking can save a lot of confusion later. A simple number, code or orientation mark helps separate left and right hand parts, match mating components and keep repeat orders consistent when a client comes back months later.
For CNC machining work in Pinetown and across KwaZulu-Natal, marking also helps with practical issues on the shop floor. Parts can look similar when they come off a machine, especially if they are small turned parts, brackets, spacers or housings. If the marking plan is not agreed early, a part may need extra handling after machining, which can affect finish, timing and cost.
For assembly reference, the best marking is the one that stays legible without damaging the function of the part. That may mean marking on a non-critical face, or keeping the code very small and neat so it does not interfere with fit. In some jobs, the mark is for internal sorting only. In others it must remain visible after painting, plating or fitting into a larger assembly.
Common marking methods used on machined parts
There is no single marking method that suits every material or component. The right choice depends on whether the part is aluminium, mild steel, stainless steel, brass or a polymer, and whether the surface will stay natural or be coated afterwards.
- Stamped or punched codes: simple and quick on suitable materials, but not ideal for delicate walls or finished cosmetic faces.
- Engraved text or numbers: useful where a permanent mark is needed and there is enough material thickness to keep the mark clear.
- Dot peen marking: creates a series of small indents, often used for repeat identification on metal parts.
- Laser marking: suitable for fine detail on some metals and plastics, especially where a clean visual finish matters.
- Paint pen or label reference: useful for temporary sorting during production, packing or inspection, but not always suitable as a final mark.
Some parts need more than one method. For example, a temporary job number may be added during machining, then a smaller final mark is applied once the part has passed inspection. That approach can reduce mix ups on larger batch work and keep the final face tidy.
Choosing a mark that suits the material and finish
Material choice matters because each substrate reacts differently. Soft materials can show deformation if the marking is too heavy, while harder materials may need a deeper or more precise mark to stay visible after handling. If a job includes anodised aluminium, coated steel or polished stainless steel, the mark should be planned before the final finish is applied.
On turned parts, especially shafts, collars and threaded pieces, marking is often best placed where it will not affect running surfaces or clamping points. On milled parts, flat reference faces are usually easier for controlled marking, but the mark still needs to stay away from sealing faces, locating edges and fine tolerance features.
In coastal areas like Durban and Richards Bay, humidity and handling can affect how long temporary marks remain visible. In those cases, a permanent identification method is usually better if the part must stay traceable through storage, transport and installation. If the part is going to Johannesburg or another inland site, transport vibration and packaging can also rub off low-grade temporary markings.
Marking small-batch parts for matching sets
Small-batch work often needs part marking more than high-volume production does, because each piece may have a specific role in a set. The same applies to mirror-image components, paired brackets, nested plates and assemblies where orientation matters. A clear marking system can make the difference between a quick fit and a return to rework.
Good practice is to decide what the mark needs to tell the person fitting the part. It may be as simple as a number sequence, or it may include left and right, revision level, cavity number or assembly order. The code does not have to be long, but it must be consistent across the batch.
- Mark parts in a place that stays visible after installation.
- Use the same format for the full batch so no one guesses later.
- Keep temporary handling marks separate from final identification marks.
- Match the marking style to the assembly process, not just the drawing.
- Check that the mark does not interfere with tolerances, sealing or appearance.
For a client in Pinetown making a small run of machine parts for assembly in Pietermaritzburg, the batch might need left and right side marks plus a simple sequence number. That helps the receiving team fit the correct component first time and reduces the chance of swapping similar items on the line.
How marking affects inspection and repeat orders
Part marking is part of quality control as much as it is part of sorting. If the code is tied to the inspection record, it becomes easier to trace which sample was approved, which remake was accepted and which revision should be repeated next time. That is especially useful for recurring jobs where a drawing is updated after the first batch.
At PME CNC Machining, practical marking decisions usually sit alongside drawing review, tolerance guidance and inspection reporting. If a part needs to be remade as a sample part, the revised mark should reflect the new version so no one fits an older pattern by mistake. That is a small detail, but it saves time when orders are split across Durban, Westmead, New Germany and Johannesburg.
Repeat orders work best when the marking method is recorded with the part notes. That way, the next batch can be handled the same way without starting from scratch. If the original job was supplied in raw steel and the repeat order now needs a different finish, the mark can be adjusted to suit the new process while keeping the same identification logic.
Working out the mark during the drawing review stage
The best time to discuss part marking is before machining starts, not after the parts are already on the bench. During drawing review, the team can identify the best face, the safest depth and whether the mark must be readable by people, by inspection staff or by another process downstream. That is especially useful when the part has tight dimensions or a cosmetic finish.
Useful information to confirm early includes:
- What the mark must identify, such as batch, set, revision or orientation.
- Whether the mark must remain after coating, cleaning or assembly.
- Which surfaces are critical and should not be touched.
- Whether the mark needs to be visual only or also machine readable.
- How the parts will be packed, stored and delivered.
For local jobs in Pinetown, this planning can be as simple as deciding to mark the non-visible side of a flat milled part, or the end face of a turned component. For longer routes to Richards Bay or Johannesburg, it may be worth choosing a more durable mark so the reference stays clear through transport and handling. The goal is always the same: make the part easier to use without affecting the job it must do.