Start With a Drawing That Shows the Whole Part
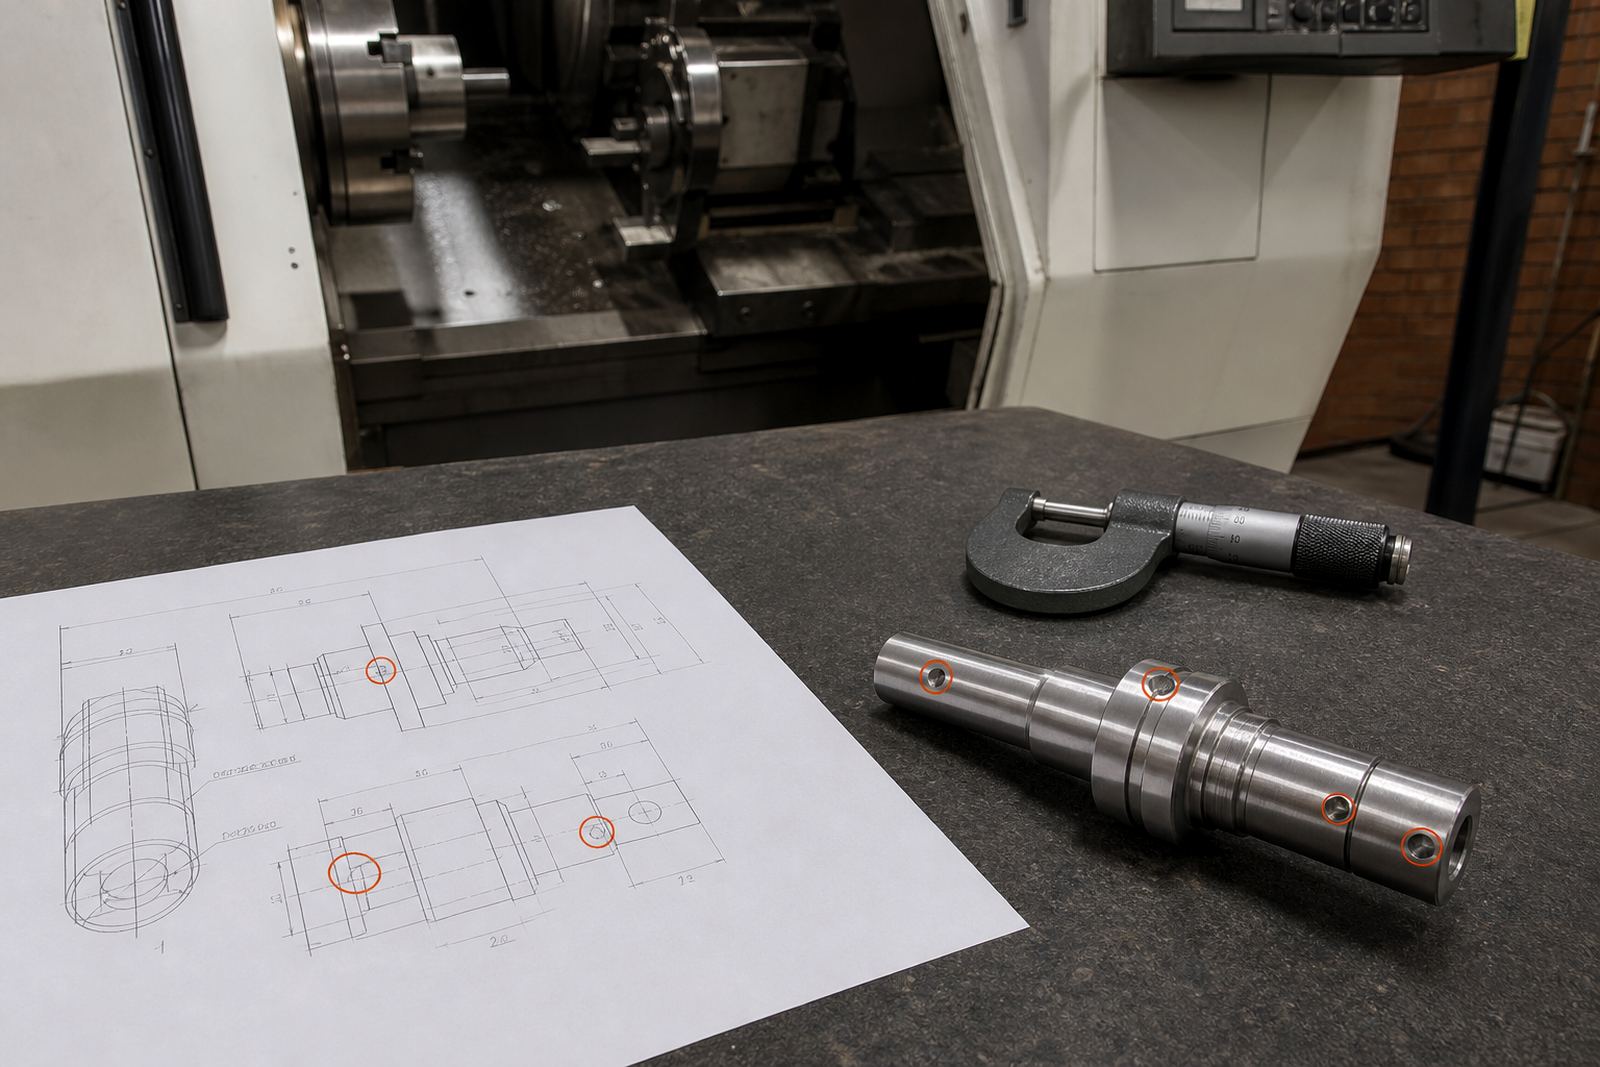
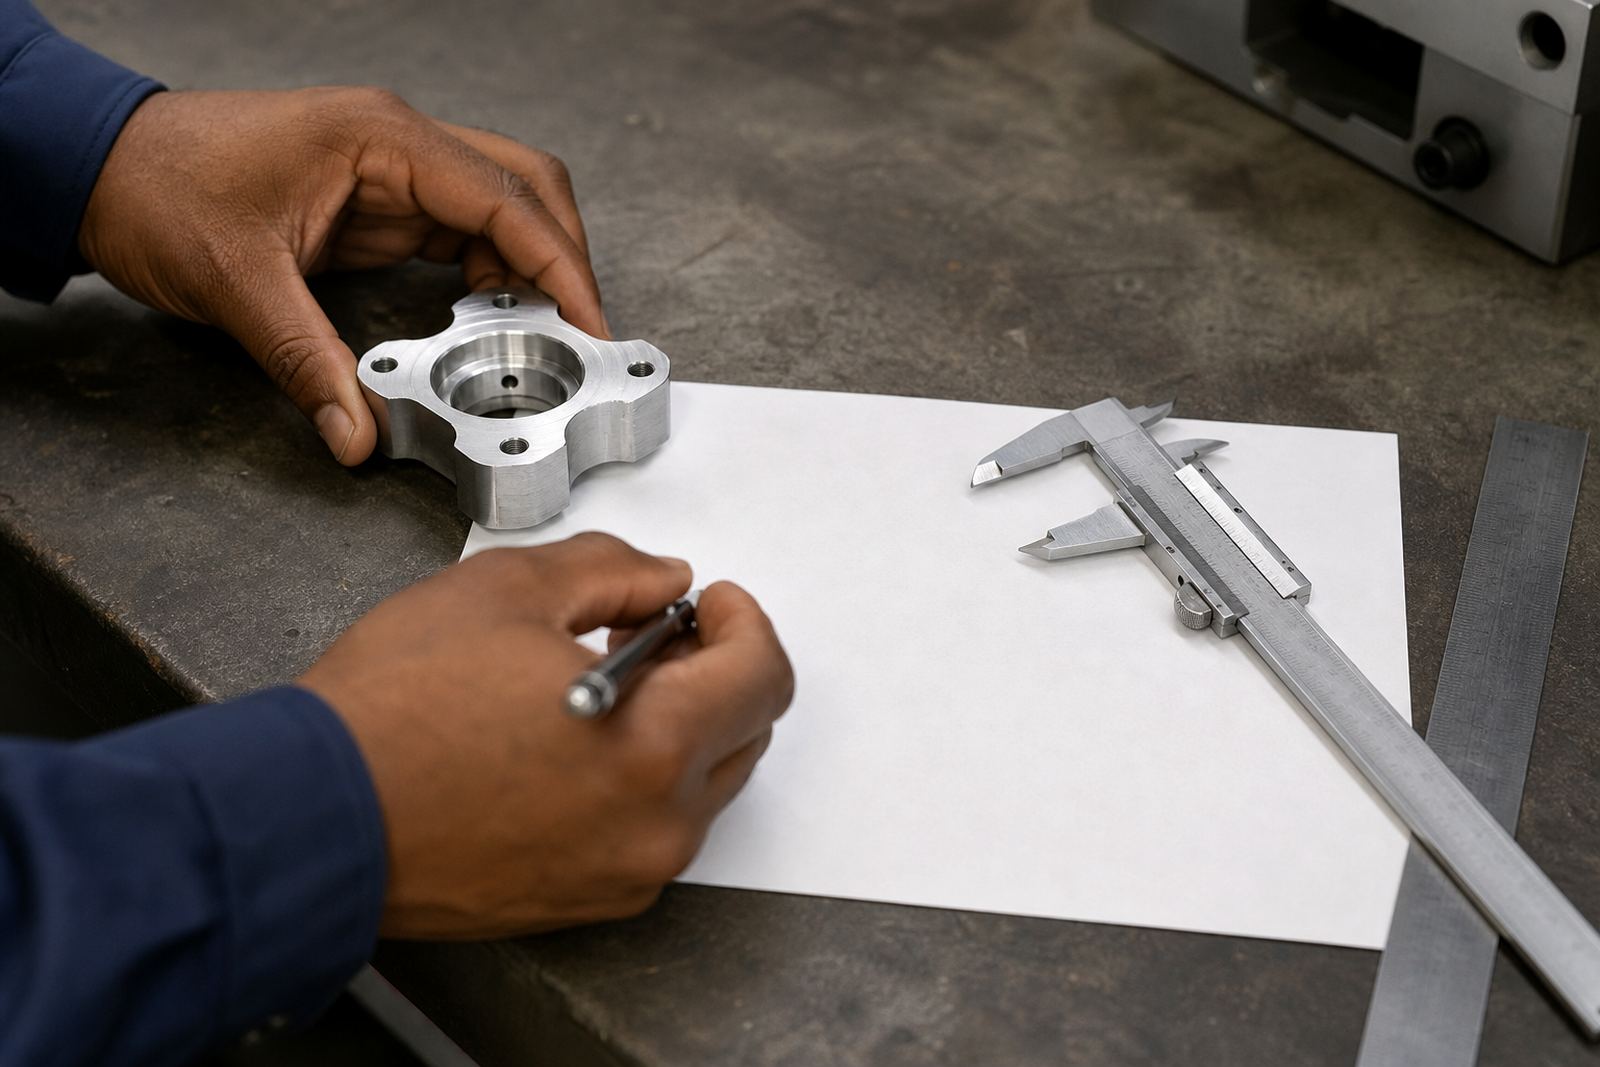
Before any material is cut, the drawing needs to show exactly what the part is meant to do. A machinist should be able to read the shape, size and critical features without guessing. That means the main view, side views and section views should all work together, especially if the part has steps, pockets, holes, turned diameters or threaded sections.
If the part is for a fit, a mounting point or a moving assembly, say so on the drawing. A simple sketch is sometimes enough for a quick concept, but for a real machining job the detail must be clear. Missing dimensions often slow the job down more than the actual cutting and it can affect delivery timing too.
- Show every finished dimension that matters to fit or function.
- Mark hidden features with section views where needed.
- Indicate which surfaces are machined and which are left as supplied.
- Keep one drawing version only, so the shop is not working from two different files.
Give Tolerances Only Where They Are Needed
Not every dimension needs the tightest tolerance. If everything is over-specified, the job can become harder and more expensive to produce. Good drawing preparation means separating critical features from general dimensions. For example, a locating hole, shaft fit or sealing surface may need a tighter limit, while a non-critical outer edge can usually allow more variation.
When tolerance guidance is missing, the job may need a drawing update before machining starts. That is normal on small-batch work and it helps avoid problems later. A practical drawing shows which faces, diameters and hole positions affect assembly, and which ones are mainly for appearance or clearance.
- Identify fit features, such as shafts, bores, pins and mating faces.
- Use tolerances that match the function of the part.
- Note any surface finish requirements on sealing or sliding areas.
- State if a feature must be concentric, square or true to another surface.
List the Material in a Way a Workshop Can Use
Material choice should be written clearly on the drawing or order note. CNC milling and turning can work with many common engineering materials, but the machinist needs to know the exact type, condition and size if the material is already supplied. Aluminium, mild steel, stainless steel, brass and engineering plastics each behave differently in the machine, especially when it comes to tool wear, chip control and finish.
If your part will run outdoors, near the coast or in a humid area like Durban or Richards Bay, note that too. Material selection may need to take corrosion resistance into account. If the job is for an assembly that will see load-bearing use, say whether the part needs strength, wear resistance or easier machinability. That information helps us plan the job properly from the start.
- Write the material grade or type where possible.
- State if the material is customer supplied or to be sourced.
- Give the stock size if bar, plate or block material is already on hand.
- Note any special conditions such as heat treatment, coating or corrosion resistance needs.
Show Which Features Need Milling and Which Need Turning
Some parts need only CNC turning, while others need both milling and turning. A round part with diameters, shoulders, grooves or internal bores may be best suited to turning. Parts with flat faces, slots, bolt circles, pockets or angular features may need milling. If the job includes both types of work, the drawing should make that clear so the process can be planned in the right order.
Good drawings also show what must line up after machining. This matters on parts where a turned section must match a milled slot, or where hole positions must relate to a centre line. The more clearly the relationship is shown, the easier it is to plan the setup and reduce the risk of rework.
- Mark the main centre line or datum where turning is involved.
- Identify milled faces that must be held square or parallel.
- Show hole patterns, slot widths and pocket depths clearly.
- Note any features that need to be machined in one setup if possible.
Prepare the Job for Small-Batch Production
Small-batch work needs a different level of planning from high-volume production. A good drawing package helps with batch planning, sample part remake requests and repeat orders. If the part may be ordered again later, make sure the drawing name, revision and part number are easy to trace. That saves time when the same component comes back months later for another run.
It also helps to tell us what the part is for, how many pieces are needed and whether a trial sample is required first. On local jobs across Pinetown, Westmead, New Germany and Umhlanga, this kind of information helps us keep the queue moving and avoid costly hold ups. If there is any assembly fit check to be done, note that before the job starts.
- Include the quantity required for the first batch and any expected repeat order.
- State whether a sample part should be checked before the full run.
- Keep revision control tidy so the latest drawing is easy to identify.
- Add any assembly notes, handed parts or left and right versions.
Use a Simple Checklist Before You Send the Drawing
A final check before submission can prevent a lot of extra correspondence. Look over the drawing as if you were the machinist seeing it for the first time. If a dimension can be read in more than one way, if a surface is not identified, or if a hole pattern is missing a reference, the job may need clarification before cutting begins. That is not wasted time. It is part of making sure the part comes out right.
For customers in Johannesburg, Pietermaritzburg or right here in Pinetown, a neat drawing pack also helps with delivery coordination and inspection reporting. When the information is complete, we can review the job, advise on part optimisation if needed and move into production with less delay.
- Is the part name, revision and date visible?
- Are all critical dimensions and tolerances shown?
- Is the material clearly stated?
- Are drawings readable, with units and scale easy to follow?
- Are finish, thread and surface notes included where needed?